
How to Build a Backyard Pétanque Court: The Complete DIY Guide
Turn your backyard into a pétanque paradise. Learn the exact dimensions, materials, and steps to build a professional-quality pétanque court at home.
How to Build a Backyard Pétanque Court: The Complete DIY Guide
Imagine a warm summer evening, a glass of pastis in hand, and the satisfying clack of stainless steel boules hitting their mark in your very own backyard. Building a pétanque court (or boulodrome) is one of the most rewarding DIY projects for any fan of the sport.
Unlike a tennis court or a bowling green, a pétanque court is relatively inexpensive and simple to construct. However, to build a court that drains well, stays level, and provides a professional playing experience, you need to follow a specific layering process.
In this guide, we'll walk you through everything you need to know to build a pétanque court that will last for decades.
1. Choosing the Perfect Location
Before you pick up a shovel, you need to find the right spot.
Sunlight and Orientation
Many pétanque construction guides suggest a North-South orientation, on the theory that it keeps the sun from sitting directly in a player's eyes at either end during morning or late-afternoon play. This isn't a FIPJP rule or a universal recommendation, though - some guides suggest the opposite (east-west) depending on your latitude and the time of day you'll play most. Walk your own site at the hours you'll actually use it and orient the court to whichever axis keeps the sun out of players' eyes then. Also, consider the shade - while a tree can provide welcome relief from the heat, falling leaves and roots can eventually disrupt the surface.
Drainage
Avoid the lowest point in your yard where water naturally pools. A pétanque court needs to drain efficiently. If your yard has heavy clay soil, you may need to install a simple French drain system beneath the court's base layer.
Space and Clearance
While the court itself has specific dimensions, you also need "overflow" space. Aim for at least 1-2 meters of clearance around the perimeter for players to stand, spectators to watch, and for the safe movement of boules that might be knocked out of bounds.
Permits and Neighborhood Rules
Check before you dig. A pétanque court is a gravel surface, not a permanent structure, so most areas don't require a building permit for one - but rules vary by city and county, and anything that changes drainage, adds a retaining wall above a certain height, or includes new lighting or fencing can trigger one. If you live in a community with a homeowners' association, check its architectural review process too: some associations cap how much of a yard can be hardscaped or set minimum setbacks from property lines and fences. A quick check with your local building department (or HOA board) before ordering materials can save you from redoing the work later.
2. Court Dimensions: How Big Should It Be?
You can adjust the size of your court based on your available space, but here are the standard benchmarks:
- Official Competition Size: 15 meters x 4 meters (49.2 ft x 13.1 ft) - the FIPJP-mandated size for national and international championships (see our full court dimensions guide for the complete FIPJP Article 5 breakdown).
- Club/Recreational Standard: 12 meters x 3 meters (39.4 ft x 9.8 ft).
- Backyard Minimum: 10 meters x 3 meters (32.8 ft x 9.8 ft).
For most backyards, 12m x 3m is the "sweet spot" - it's long enough to allow for the maximum 10-meter official throwing distance while fitting into most residential gardens.
3. The Essential Materials List
A professional-quality court is built like a "layer cake." Here is what you'll need:
| Layer | Material | Purpose |
|---|---|---|
| Base Layer | Coarse Gravel (20-40mm) | Stability and primary drainage |
| Sub-Base | Crushed Stone (0-20mm) | Leveling and transition |
| Surface | Decomposed Granite or Fine Gravel (0-6mm) | The playable "top" layer |
| Borders | Timber Sleepers or Steel Edging | Containing the material and absorbing impacts |
| Barrier | Geotextile Landscape Fabric | Prevents weeds and keeps layers from mixing |
Why Timber Sleepers?
We highly recommend using treated timber sleepers (railway sleepers) for your borders. They are heavy enough to stay in place, easy to level, and most importantly, they absorb the impact of a high-velocity boule without damaging the ball or causing dangerous rebounds.
4. Tools Required
- Shovel and Pickaxe (or a mini-excavator for larger projects)
- Wheelbarrow
- Tape Measure and String Line
- Spirit Level
- Large Landscape Rake
- Plate Compactor (Highly recommended - can be rented daily)
5. Step-by-Step Construction
Step 1: Mark and Excavate
Use stakes and string lines to mark the exact perimeter. Excavate the area to a depth of 15-20 cm (6-8 inches). Ensure the bottom is relatively flat and clear of large rocks or roots.
Step 2: Install the Borders
Place your timber sleepers around the perimeter. Use a spirit level to ensure they are perfectly horizontal and flush with each other. Secure them with long timber screws or rebar stakes driven into the ground.
Step 3: Lay the Geotextile Fabric
Line the entire excavated area with heavy-duty landscape fabric. This is a critical step - it prevents weeds from growing through your court and stops your expensive surface material from sinking into the dirt base over time.
Step 4: The Base Layer (10 cm)
Fill the first 10 cm with your coarse gravel. Spread it evenly with a rake. Now, use the plate compactor. Run it over the gravel multiple times until the base is rock-hard and doesn't shift when you walk on it.
Step 5: The Sub-Base (5-8 cm)
Add your crushed stone layer. This layer fills the gaps in the coarse gravel and creates a smoother transition. Compact this layer thoroughly as well.
Step 6: The Finishing Surface (3-5 cm)
This is the layer you actually play on. Spread your decomposed granite or fine gravel evenly. Level it with a long straight-edge board or a landscape rake.
!TIP Don't over-compact the top layer. You want it firm, but with just enough "give" to allow a boule to land and roll naturally. A light tamping or a single pass with a roller is usually sufficient.
Step 7: Settling and First Game
Water the surface lightly with a hose and let it sit for 24 hours. This helps the fines settle into the gaps. If you notice any low spots after the first rain, simply add a bit more surface material and rake it level.
6. Lighting for Evening Play
A well-lit court means games don't have to stop when the sun goes down.
- Fixture type: Wide-beam floodlights spread light evenly across the full length of the court and minimize the shadows a single spotlight would cast.
- Color temperature: Warm-white LEDs (around 3000K) are easier on the eyes for evening play than the harsher blue-white light of daylight-rated bulbs, and LEDs don't flicker the way some older fixtures do.
- Placement: Mount lights along the long sides of the court rather than at the ends, angled to light the playing surface without shining directly into a player's eyes mid-throw.
- Budget: Simple floodlights start around 10-20 EUR each; weatherproof LED fixtures built for outdoor sports use run 50-250 EUR depending on brightness and mounting hardware. For a casual backyard feel, string lights or lanterns around the perimeter suit social games well, though they won't give the even coverage of dedicated floodlights for serious play.
7. Maintenance Tips
- Raking: Occasionally rake the surface to prevent the "line of play" from becoming too packed down.
- Weeding: If a stray weed appears, pull it immediately.
- Replenishing: Every 2-3 years, you may need to add a thin "dusting" of new surface material to keep the court fresh.
Frequently Asked Questions
Do I need a permit to build a backyard pétanque court?
Most residential pétanque courts don't need a permit, since a gravel surface isn't a permanent structure. But check with your local building department first if your project changes drainage, adds a retaining wall, or includes new lighting or fencing - and check your homeowners' association's architectural review rules if you have one, since some cap how much of a yard can be hardscaped or set minimum setbacks from property lines.
How much does it cost to build a backyard pétanque court?
A DIY court typically costs 800-1,500 EUR for materials - gravel, sub-base, surface layer, and timber borders. Hiring a contractor for a full professional build runs 3,000-4,000 EUR. Buying gravel and sand directly from a quarry rather than bagged from a garden center can cut material costs by 30-50%.
How long does it take to build a pétanque court?
A single DIYer can usually finish a 12m x 3m court in a long weekend to about 3-5 days, including excavation, compacting each layer, and letting the surface settle overnight before the first game.
What is the best surface material for a pétanque court?
Decomposed granite or fine crushed limestone (0-6mm) is the standard finishing layer - it compacts into a firm, slightly textured surface that lets boules roll true without being too fast. Stabilized sand (sand mixed with a binder) is a popular alternative, especially in France, and gives a smoother, slightly harder finish.
Can I build a pétanque court without excavating the ground first?
You can lay a simplified no-dig court directly on existing grass or dirt by adding landscape fabric and a compacted gravel-and-sand layer on top, but it won't drain or last as well as a properly excavated court. For a court that stays flat and playable for years, excavating 15-20cm and building up the full gravel, sub-base, and surface layers is worth the extra effort.
What size should a backyard pétanque court be?
12m x 3m (the club standard) is the sweet spot for most backyards - long enough for the maximum 10-meter throwing distance used in official play, while fitting most residential gardens. A 10m x 3m court works for casual games if space is tight, though it falls short of the official minimum tolerance of 12m x 3m.
8. Ready to Play?
Now that your court is ready, make sure you have the right gear. Check out our guide to the Best Competition Boules for 2026 or, if you're just starting out, our Beginner's Guide to Pétanque. And once you start visiting other courts, see our guide to court surfaces for how gravel, sand, schist, and clay each play differently from the one you just built.
Happy building, and bonne chance on your new home court!
Related Articles
Pétanque Court Surfaces: How Terrain Changes Your Game
Gravel, sand, schist, clay, or rocky ground: every pétanque surface plays differently. Learn how to read a new court and adapt your technique before you throw.
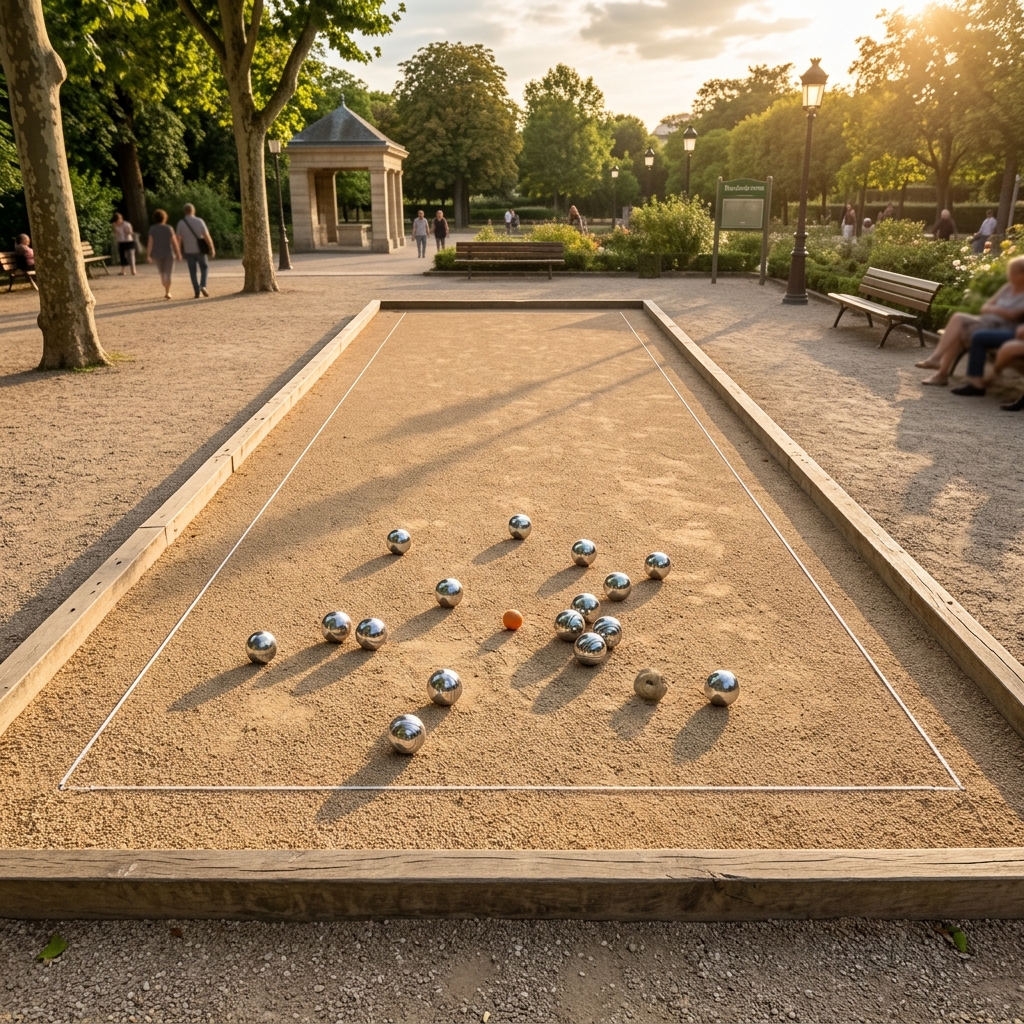
Pétanque Court Dimensions and Setup Guide
Everything you need to know about official FIPJP pétanque court dimensions, marking rules, surface materials, and terrain setup for competitions and home play.
Beginner's Guide to Pétanque: Everything You Need to Know
New to pétanque? Learn the basics - how to play, what you need, scoring, and etiquette in this comprehensive beginner's guide.